

Materials Needed:
Burlap (amount depends on votive cup size)
Glass Votive Cup (while you can use any type, it is easier if the cup is not tapered)
Spray Adhesive
Stencil (you can purchase this or make your own)
Foam Paint Brush
Craft Paint

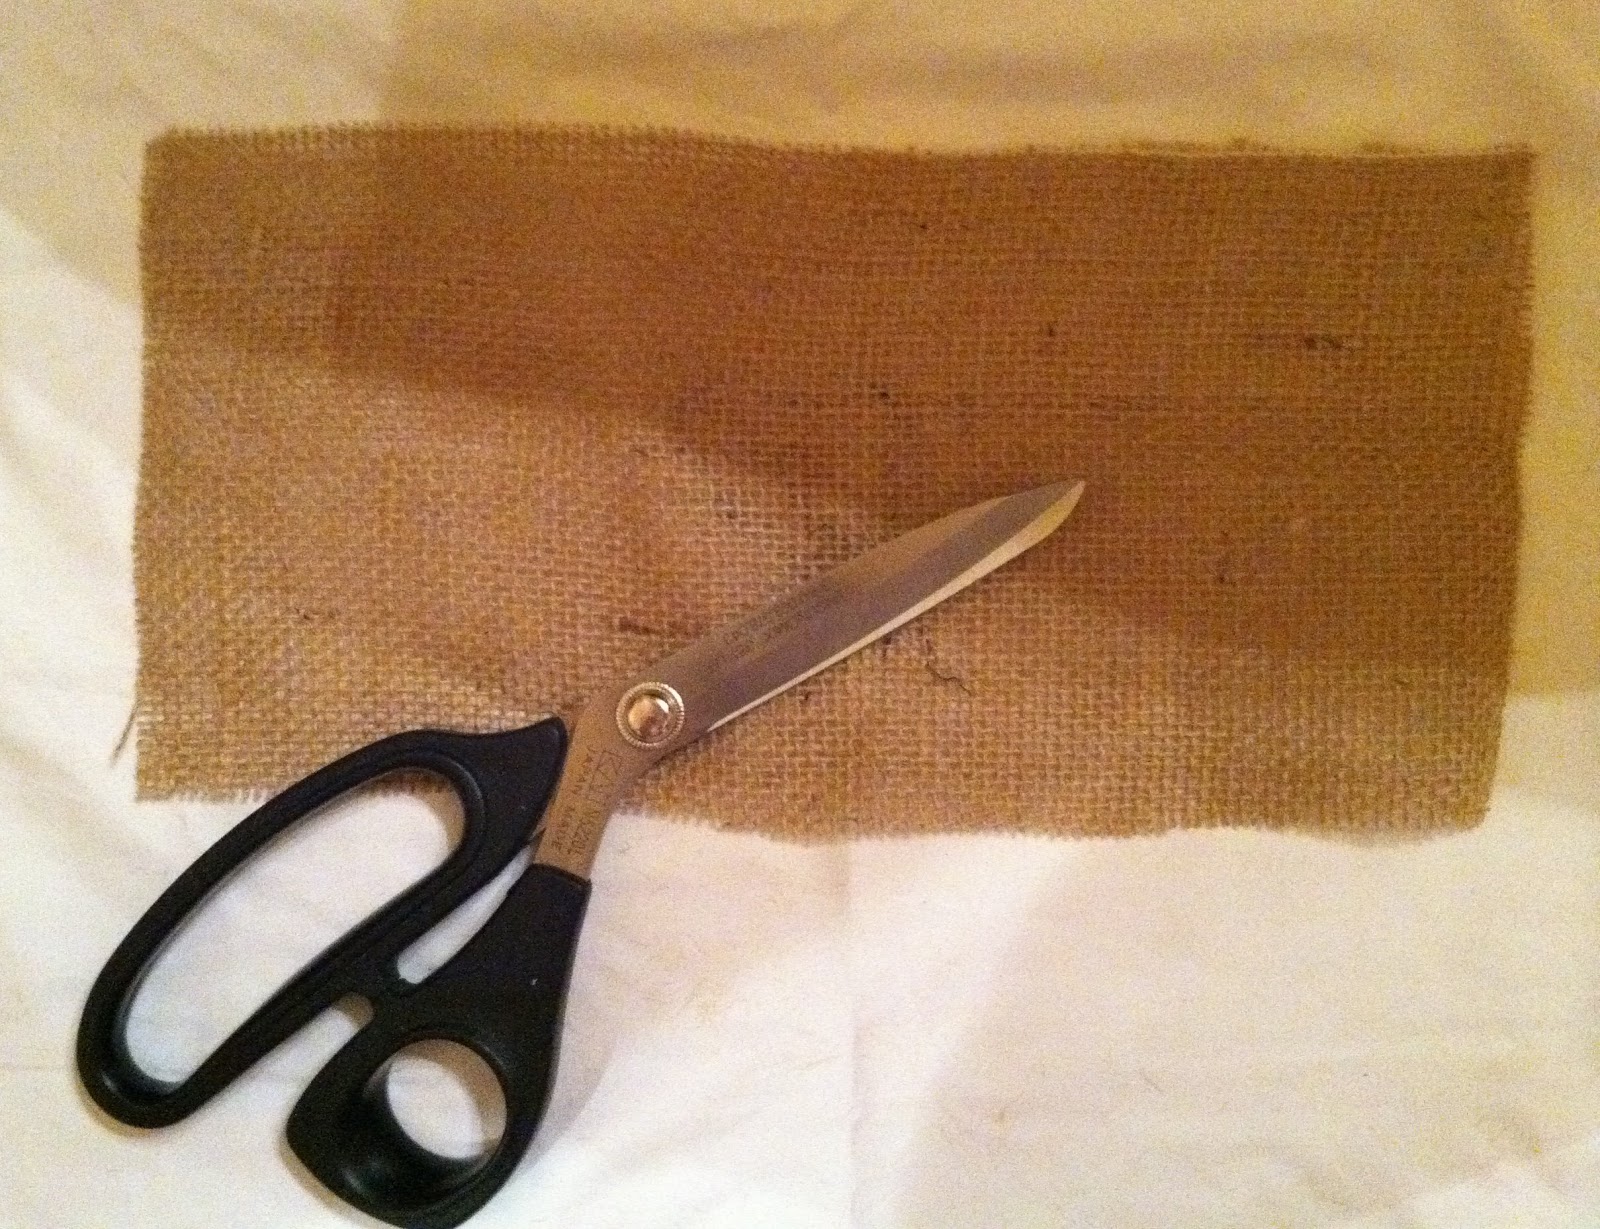
Let's get started....First measure the circumference and the height of the glass cup (we purchased ours for just over $2). Our cup was 4.25" tall and the circumference was 10.5". Cut your burlap 1" longer and 1" wider than your cup measurements (we cut our burlap 5.25" X 11.5"). We will trim the burlap later, but it is best to cut it larger for now as it may unravel as you work with it.
Next, center your stencil both vertically and horizontally on your cut burlap piece. (We taped ours in place so that it wouldn't shift while painting). Dry brush your paint onto the burlap/stencil being careful to "dab" a bit of the paint off before applying it to the burlap. (It is best to "blot" the paint onto the burlap rather than using paint "strokes"). This method will help in preventing the paint from seeping under the edge of the stencil. I would suggest that you let it dry and repeat the stencil process again. This will allow the paint to be darker which will help the design to show up better when the cup is holding a lit candle.

Note: Stencils...you can purchase a ready-made stencil or make your own. I simply located a clip art fleur de lis online, resized it, printed it, and then cut it out to create my own stencil. It was actually very easy, but you certainly purchase one as well.


Once the stenciled design is dry. Flip the burlap over and saturate the back with spray adhesive. It is best to do this outside as it is very sticky and has a strong oder.


Next, carefully place the burlap on the cup making sure to center the stenciled design vertically. Now, you want to carefully smooth the burlap down all the way around the cup making sure to not stretch the burlap which can cause the stenciled design to not be straight.


Where the two burlap ends meet in the back, you need to adhere one end to the cup. Then, you need to adhere the other end down as well initially overlapping the burlap. This will allow you to see how much to trim off. You can either allow the ends to overlap a little or carefully trim the overlapping end so that the seams just meet. Either actually works fine, but we chose to make ours just meet and not overlap. (Trim a little at a time so that you don't cut the burlap to short).


Because the burlap now has the spray adhesive coating, it doesn't fray which makes it much easier to get a cleaner, straighter cut. (Make sure to not use your "good fabric scissors" to cut the burlap after the spray adhesive is applied).
Now, you need to fold down the top edges into the cup only to "train" the burlap and establish a trim line. Fold it back up and begin trimming the burlap. If you hold your scissors horizontal and let the blade rest against the rim of the cup, you can easily get an even straight cut all the way around. Again, the spray adhesive really helps to hold the burlap "stiff" to get an even cut and prevents fraying.


Once the burlap is trimmed on the top edge, turn the cup upside down, and repeat the process and trim the bottom burlap edge.


Notes:
- Paint - We used Folk Art Burnt Umber
- There are many ready made stencils available to use. The votive cups would
also look great with an monogram initial or a number which is a hot trend
right now (see picture at the end of this blog post).
- This project would also work great using a rubber stamp design.
- Remember the darker your stenciled design, the more visible it will be when it
is holding a lit candle.
- Don't forget to use old scissors when trimming the burlap so that you don't get
the adhesive on your good ones.
- The burlap votives can be made using the scrap fabric you have left from the previous burlap projects we have posted this week.
Enjoy!!!!
Don't forget to stop by Details to pick up your burlap to get started. We look forward to seeing you.

No comments:
Post a Comment