
Over the last few weeks, we have been putting together various DIY projects that you can do using burlap in your own homes. We decided we would feature a few of them here over the next few days and share our free step-by-step instructions for your convenience.
Today, we thought we would start off with a great burlap wreath.


Supplies Needed:
- 16" Wire Wreath
- 1.75 yards Burlap (48" wide)
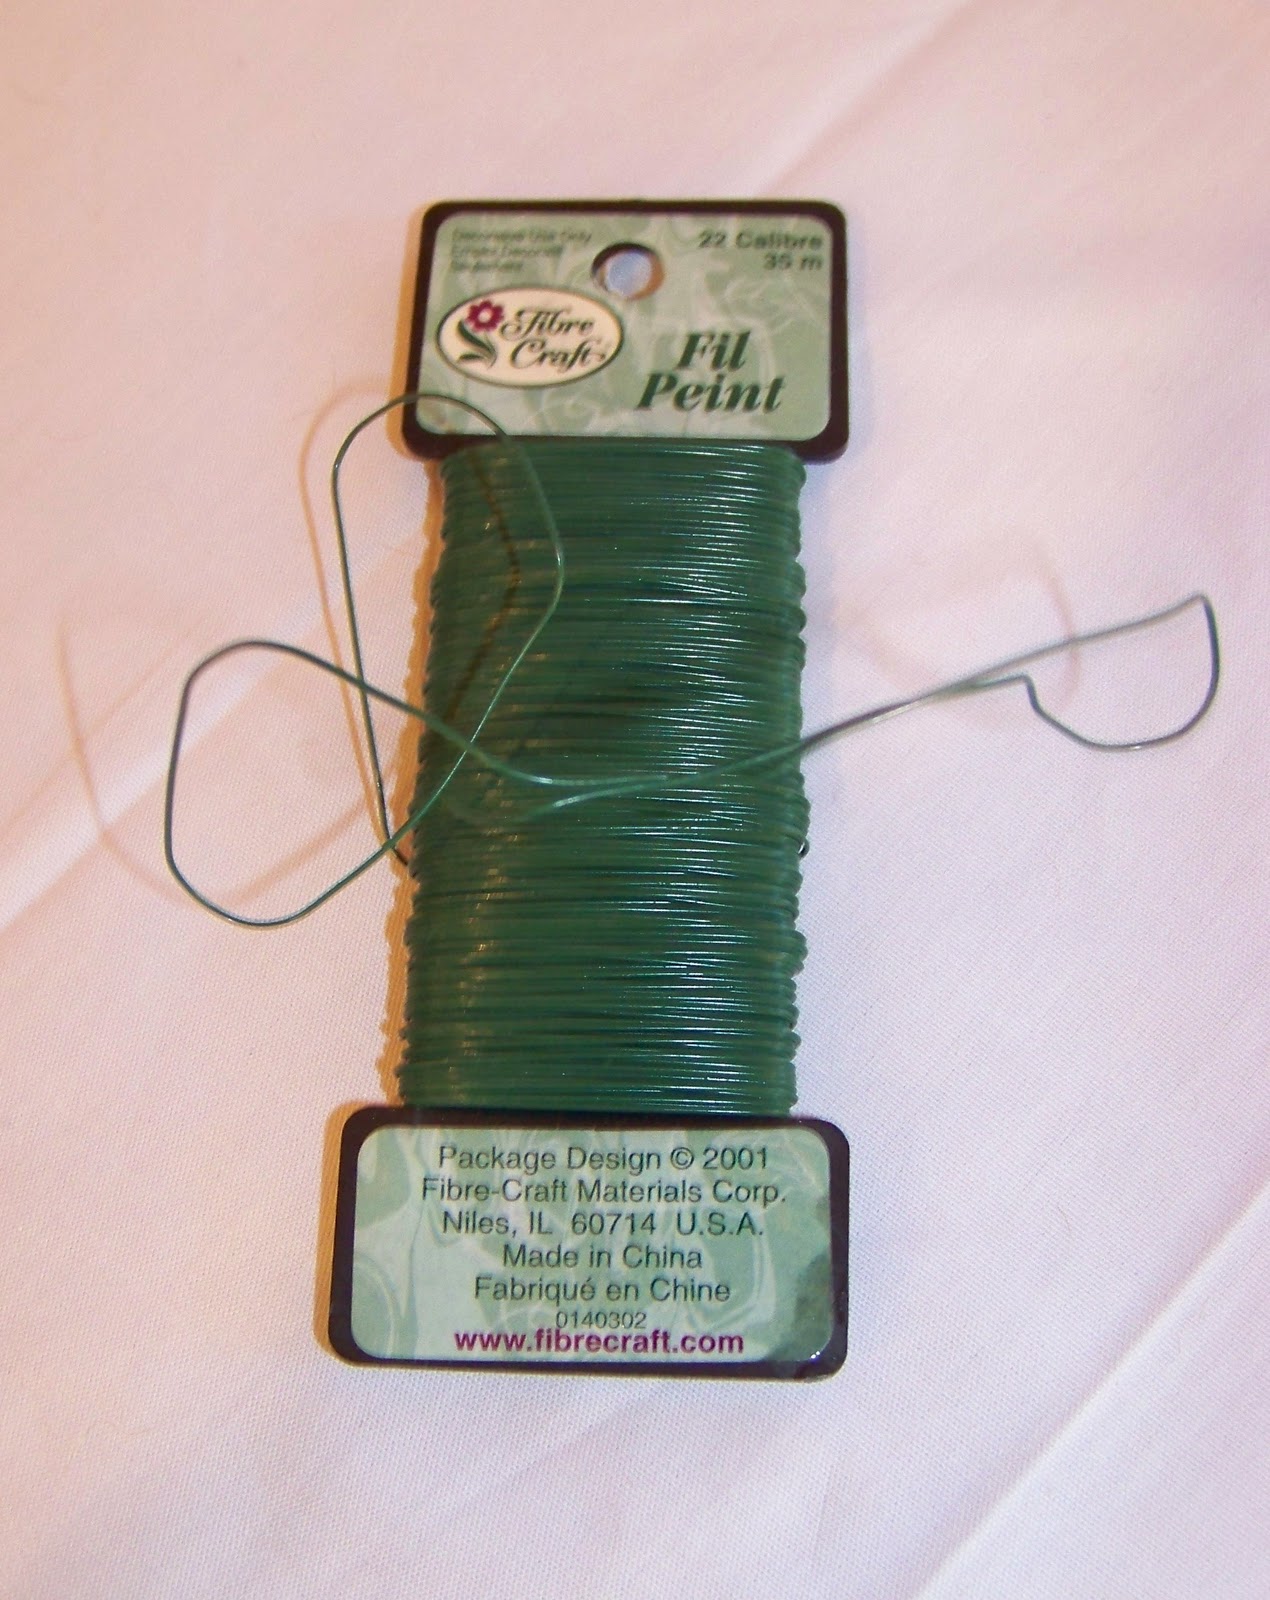
- Floral Wire


We started off by cutting the burlap into 8 strips (8"X 48").


Next, we folded the strips lengthwise creating 4" X 48" doubled strips. We then cut approximately 3" long pieces of florist wire (We used approximately 16 pieces of wire per strip) and closed the open side of the folded strips by running the wire through both layers of burlap and then twisting it a couple of times. We placed the wire twist approximately 3" apart.


As you can see, the wire wreath has 4 circles bound together. Therefore, we first attached the burlap strips to the inner 2 circles by working our way around the wreath and twisting the wire to hold it while alternating between the two inner circles.

We continued to repeat this process using 5 of the 8 stripes to fill in the inner portion of the wreath. Initially, it looks like this.


Fill-in the two inner circles using 5 of the burlap strips. Then, using your fingers, open up the burlap strips from the bottom to "puff" them out and give them shape. Next, take the other 3 strips and attach them in the same way by alternating between the circles as you attach them by twisting the wire around the wreath frame. These will be spread out a bit more and used as needed to fill-in the 2 outer circles and create fullness.


After adding the last 3 strips to the outer circles, use your fingers again to "puff" out the strips to create the look desired. We added an orange bow that we created using a 1/4 yard strip of orange burlap.
If you would like to purchase a wreath kit to make your own, we have them available at Details for $10 each.
Notes:
1. While we selected an orange bow to represent the fall holidays (and the Auburn Tigers), you could also substitute red for Christmas and Valentine's Day, Green for Saint Patrick's Day, etc...
2. We used orange burlap to make our bow, but you could certainly substitute ribbon to create your own look. Additionally, the bow could be placed anywhere on the wreath that you prefer.
3. We hung our wreath simply by mounting a command hook on the door and then hooking the wire frame of the wreath on the hook. It would also look nice to use a long piece to suspend the wreath from the hook.
No comments:
Post a Comment