


-Natural Colored Burlap (yardage depends on the size of your table)
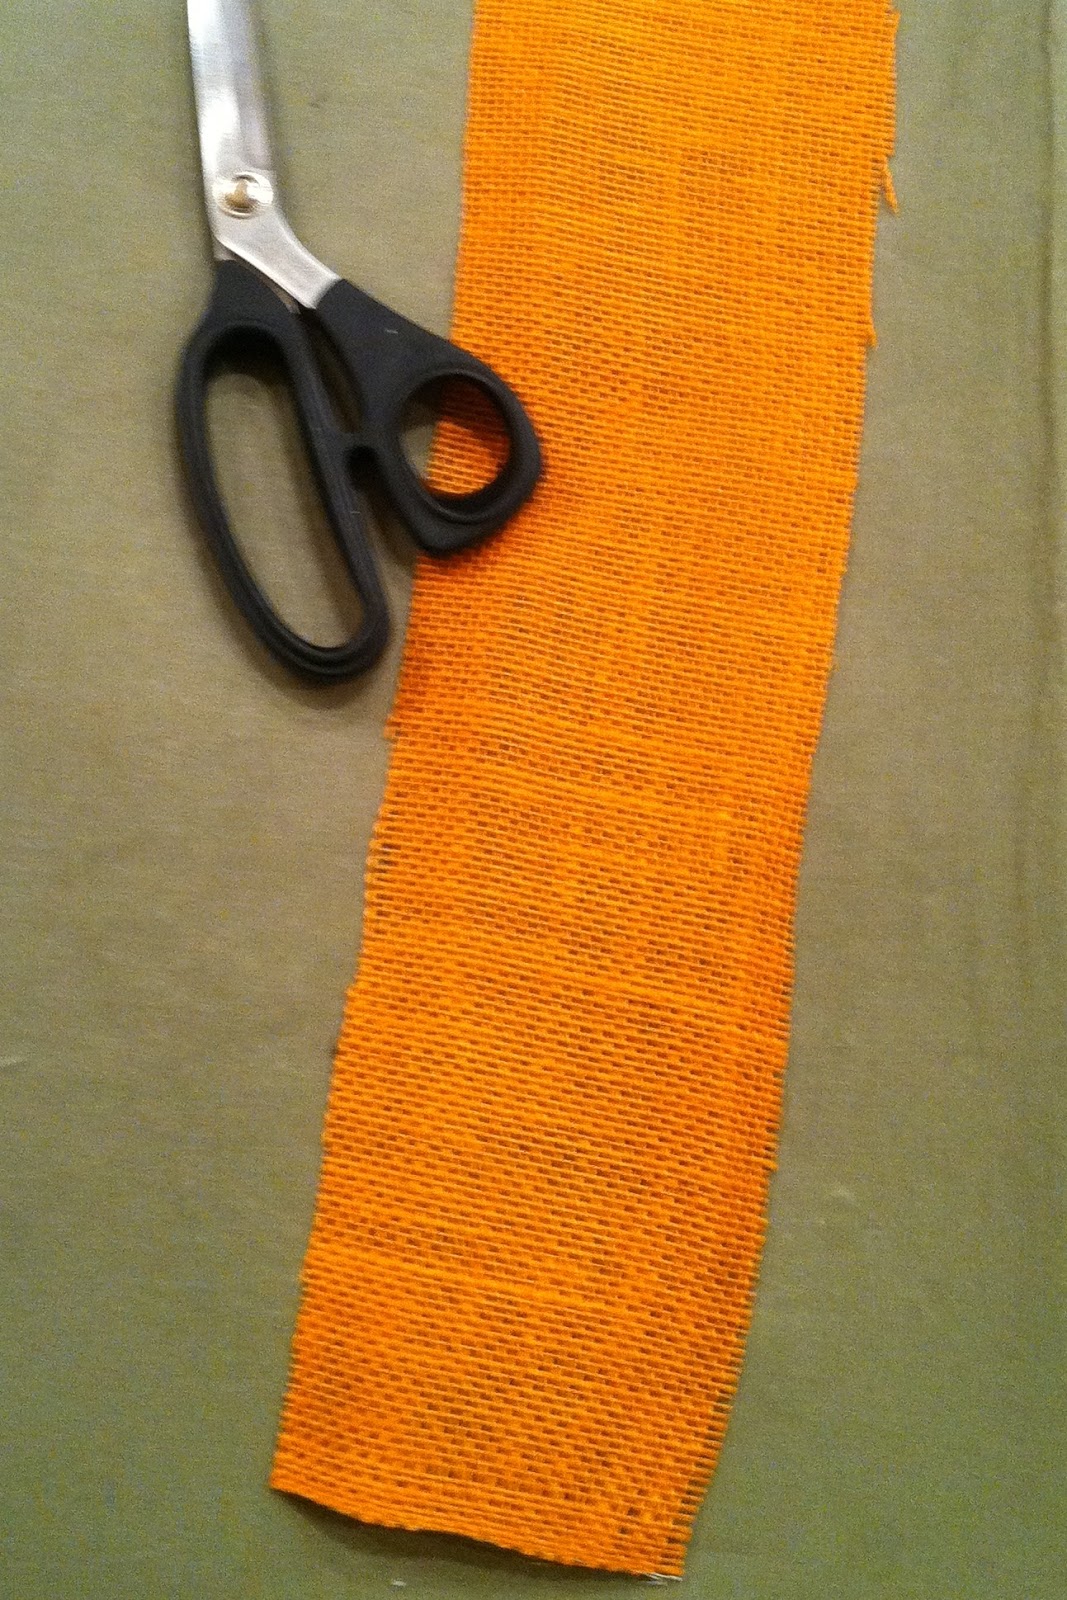
-Orange Burlap (again, yardage depends on your table size)
-Stitch Witchery (if you do not sew)
-Velcro (if you want to make your accent pleated bands removable).
First Things First.....Measure your table length. Next, determine how much overhang you would like on each end of the table. Finally, determine how wide you want your table runner to be.
For our sample, we used a 60" table and had a desired overhang of 9" on each end. Our desired finished width for the table runner was 14".
Measurements for our Burlap...
Cut Length
60" (length of table)
20" ( 9+9+1+1 / overhang on each end +1" on each end for a hem)
80" Cut Length
Cut Width
14" (desired width)
2" (1" for a hem on each side)
16" Cut Width
Therefore, our cut measurement for the burlap was 16"X 80". Simply adjust the numbers to accomodate your desired size.
To make the pleated band for the bottom, we wanted a finished width of 3" Therefore, we cut a 4" X 30" strip of orange burlap. The 4" cut allows you to have a 1" hem on each side. The 30" length was determined by doubling the finished width of our table runner and adding 2" to allow for a 1" hem on each end (14 X 2= 28" + 1" + 1" = 30")
So, for our orange pleated bands, we need 2 cuts at 4" X 30" (one for each end). Again, you will just need to adjust the numbers to accomodate the width of your table runner.

Measure and fold under a 1" hem on each long side of the natural burlap piece. Next. fold under and hem each short end of the natural burlap piece. If you prefer, you can do a double 1/2" fold for the hem instead of the single 1" which will eliminate a raw edge showing on the back. (For our sample, we did a single 1" folded hem). Iron the hems to crease.


Once hems are folded/ironed under all four sides, machine stitch them to secure. (If you do not sew, use stitch wichery to to close the hems). Repeat the same on each short end.

You now have a finished burlap table runner.

Now, for the pleated bands. Iron in the hems on the long sides of the orange burlap strips as done previously on the table runner.


Then fold the hems on each short end of the strips again, as you did on the table runner.

Machine stitch all four sides to secure. (Again, if you don't sew, use stitch witchery to complete this step).

Next, create folds in each strip (layered in the same direction). We simply folded the strips approximately every 3" with each fold being only about 1/2". This does not have to be exact. The goal is for them to look evenly spaced visually (again, you can just ball-park this) while making the finished length stretches the width of the table runner with at least 1" to fold to the back side on each end.
 \
\Iron the folds to set/crease them.

Then, machine stitch the outside of each pleated band to secure the folds before removing the pins. Be sure to use matching thread as it will be very visible. If you prefer the bands to be permanently attached to your table runner, determine your desired band placement on the runner, pin it into place, and then machine stitch it directly to the burlap table runner. if you don't sew or would like it to be removable/interchangeable, sew or adhere velcro to the outer edges of each band and to the table runner to attach it. (Other options would be to attach the bands with snaps or a loose basting stitch that can easily be removed).

Once attached, your finished project should look something like this...

Notes:
-To customize your burlap table runner, you can make bands in additional colors or even prints for other holidays, events etc...
-Instead of pleating the bands, you can make flat ones that could be monogrammed.
-Trim can be added to dress it up.
-The burlap runner can be used in various locations....tables, buffets, kitchen island, etc...
Now that you're ready to make your own Burlap Table Runner, stop by Details to pick up your burlap (just $4 per yard) and get started.
Enjoy!!!
No comments:
Post a Comment