November 4, 2011

Burlap Votives....Great For Gift Giving and Simple To Make!!!


     Today's burlap project is the perfect accessory for any room.  Our burlap votive cups are extremely easy to make and would make a wonderful gift for friends, teachers, etc... or just make a few for yourself.

Materials Needed:

Burlap (amount depends on votive cup size)
Glass Votive Cup (while you can use any type, it is easier if the cup is not tapered)
Spray Adhesive
Stencil (you can purchase this or make your own)
Foam Paint Brush
Craft Paint


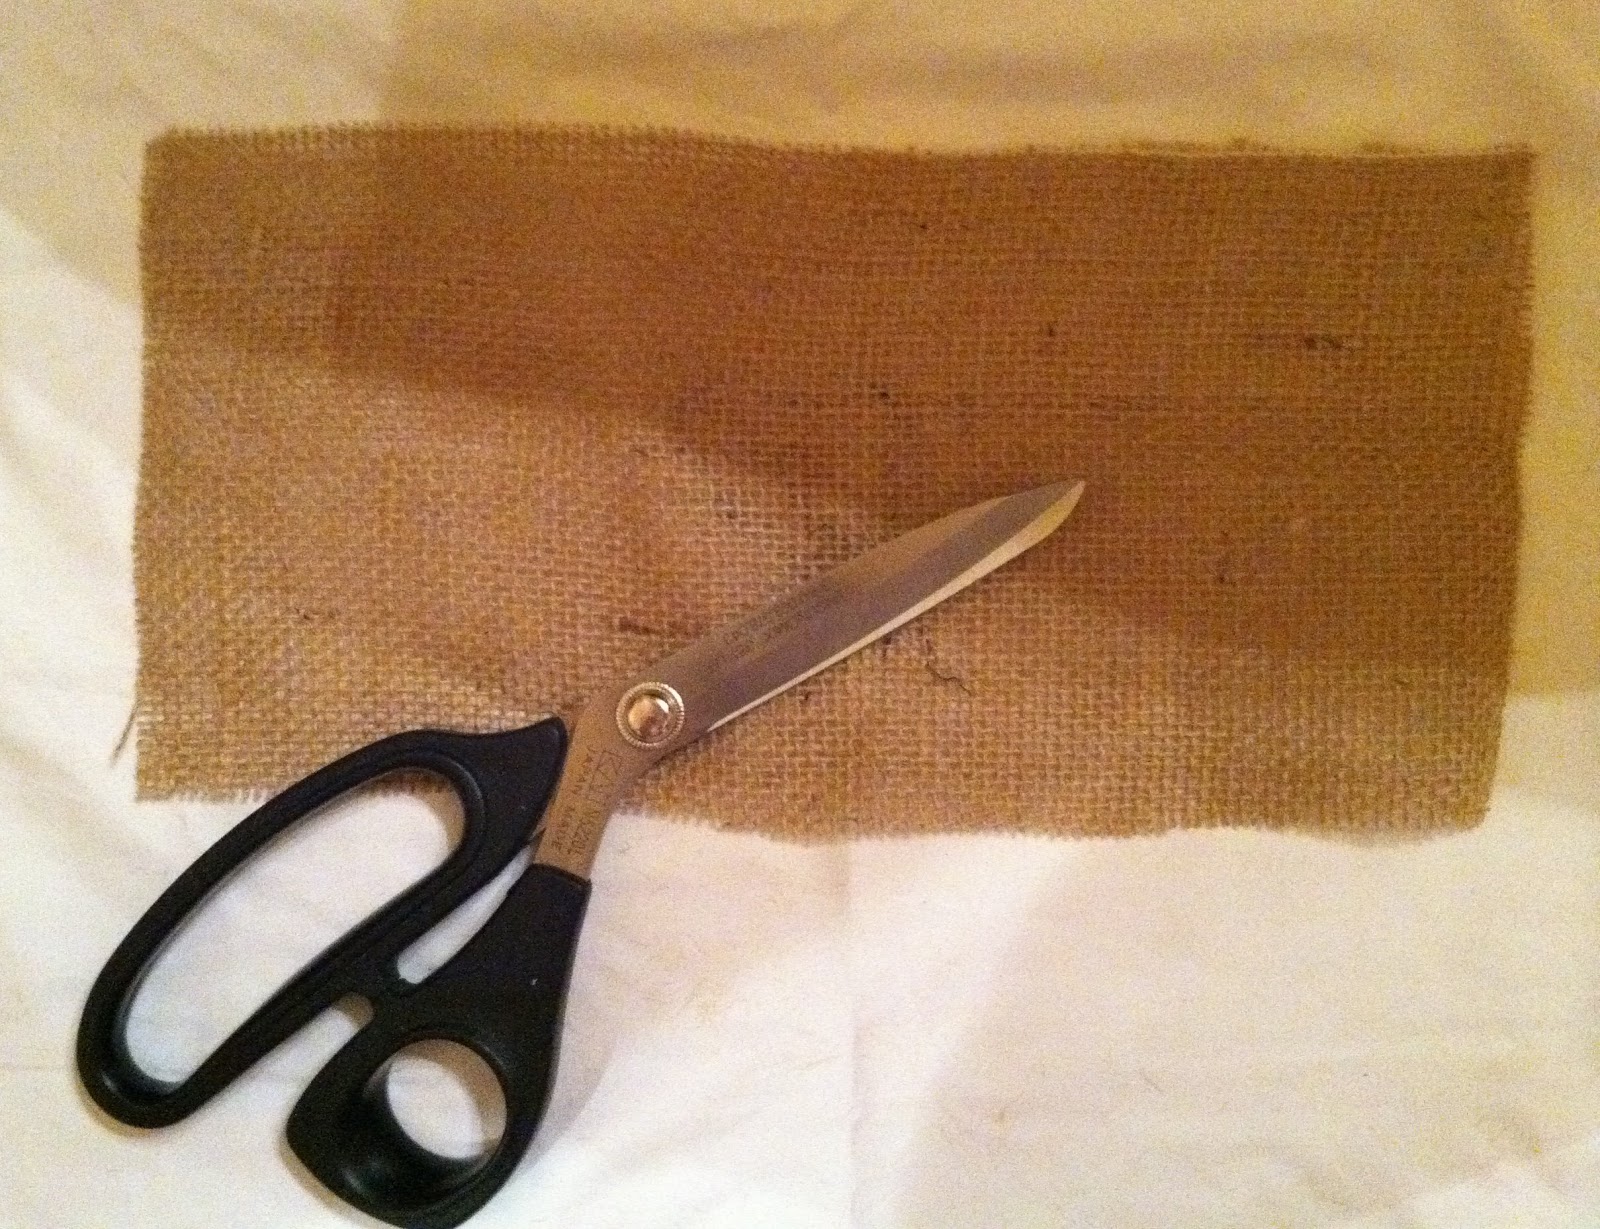
Let's get started....First measure the circumference and the height of the glass cup (we purchased ours for just over $2).  Our cup was 4.25" tall and the circumference was 10.5".  Cut your burlap 1" longer and 1" wider than your cup measurements (we cut our burlap 5.25" X 11.5").  We will trim the burlap later, but it is best to cut it larger for now as it may unravel as you work with it. 

Next, center your stencil both vertically and horizontally on your cut burlap piece. (We taped ours in place so that it wouldn't shift while painting).  Dry brush your paint onto the burlap/stencil being careful to "dab" a bit of the paint off before applying it to the burlap.  (It is best to "blot" the paint onto the burlap rather than using paint "strokes").  This method will help in preventing the paint from seeping under the edge of the stencil.  I would suggest that you let it dry and repeat the stencil process again.  This will allow the paint to be darker which will help the design to show up better when the cup is holding a lit candle.


Note:  Stencils...you can purchase a ready-made stencil or make your own.  I simply located a clip art fleur de lis online, resized it, printed it, and then cut it out to create my own stencil.  It was actually very easy, but you certainly purchase one as well.


Once the stenciled design is dry.  Flip the burlap over and saturate the back with spray adhesive.  It is best to do this outside as it is very sticky and has a strong oder. 


Next, carefully place the burlap on the cup making sure to center the stenciled design vertically.  Now, you want to carefully smooth the burlap down all the way around the cup making sure to not stretch the burlap which can cause the stenciled design to not be straight. 


Where the two burlap ends meet in the back, you need to adhere one end to the cup.  Then, you need to adhere the other end down as well initially overlapping the burlap.  This will allow you to see how much to trim off.  You can either allow the ends to overlap a little or carefully trim the overlapping end so that the seams just meet.  Either actually works fine, but we chose to make ours just meet and not overlap.  (Trim a little at a time so that you don't cut the burlap to short). 


Because the burlap now has the spray adhesive coating, it doesn't fray which makes it much easier to get a cleaner, straighter cut.  (Make sure to not use your "good fabric scissors" to cut the burlap after the spray adhesive is applied).

Now,  you need to fold down the top edges into the cup only to "train" the burlap and establish a trim line.  Fold it back up and begin trimming the burlap.  If you hold your scissors horizontal and let the blade rest against the rim of the cup, you can easily get an even straight cut all the way around.  Again, the spray adhesive really helps to hold the burlap "stiff" to get an even cut and prevents fraying. 


Once the burlap is trimmed on the top edge, turn the cup upside down, and repeat the process and trim the bottom burlap edge.


Now, you should have a finished product.


Notes:

- Paint - We used Folk Art Burnt Umber
- There are many ready made stencils available to use.  The votive cups would
  also look great with an monogram initial or a number which is a hot trend
  right now (see picture at the end of this blog post).
- This project would also work great using a rubber stamp design.
- Remember the darker your stenciled design, the more visible it will be when it
  is holding a lit candle.
- Don't forget to use old scissors when trimming the burlap so that you don't get
  the adhesive on your good ones.
- The burlap votives can be made using the scrap fabric you have left from the previous burlap projects we have posted this week.

Enjoy!!!!

Don't forget to stop by Details to pick up your burlap to get started.  We look forward to seeing you.


November 2, 2011

Embellished Burlap Placemats

     For today's burlap project, we are making burlap placemats and I have to tell you...they are super easy to make. 


Materials List:
- Burlap (yardage depends on the size of your placemats and the quantity
  you choose to make)
- Grosgrain Ribbon 7/8" width (again yardage depends on size and quantity of
  placemats)
- Stitch Witchery (or Hot Glue Gun)
- Jute String

You can make your placemat any size that you choose or that will work best on your table.  For our sample, we made ours 14" X 19".  Simply determine the size that will work best for you and then cut-out the quantity that you need. 

First, we cut our burlap 14" X 19".


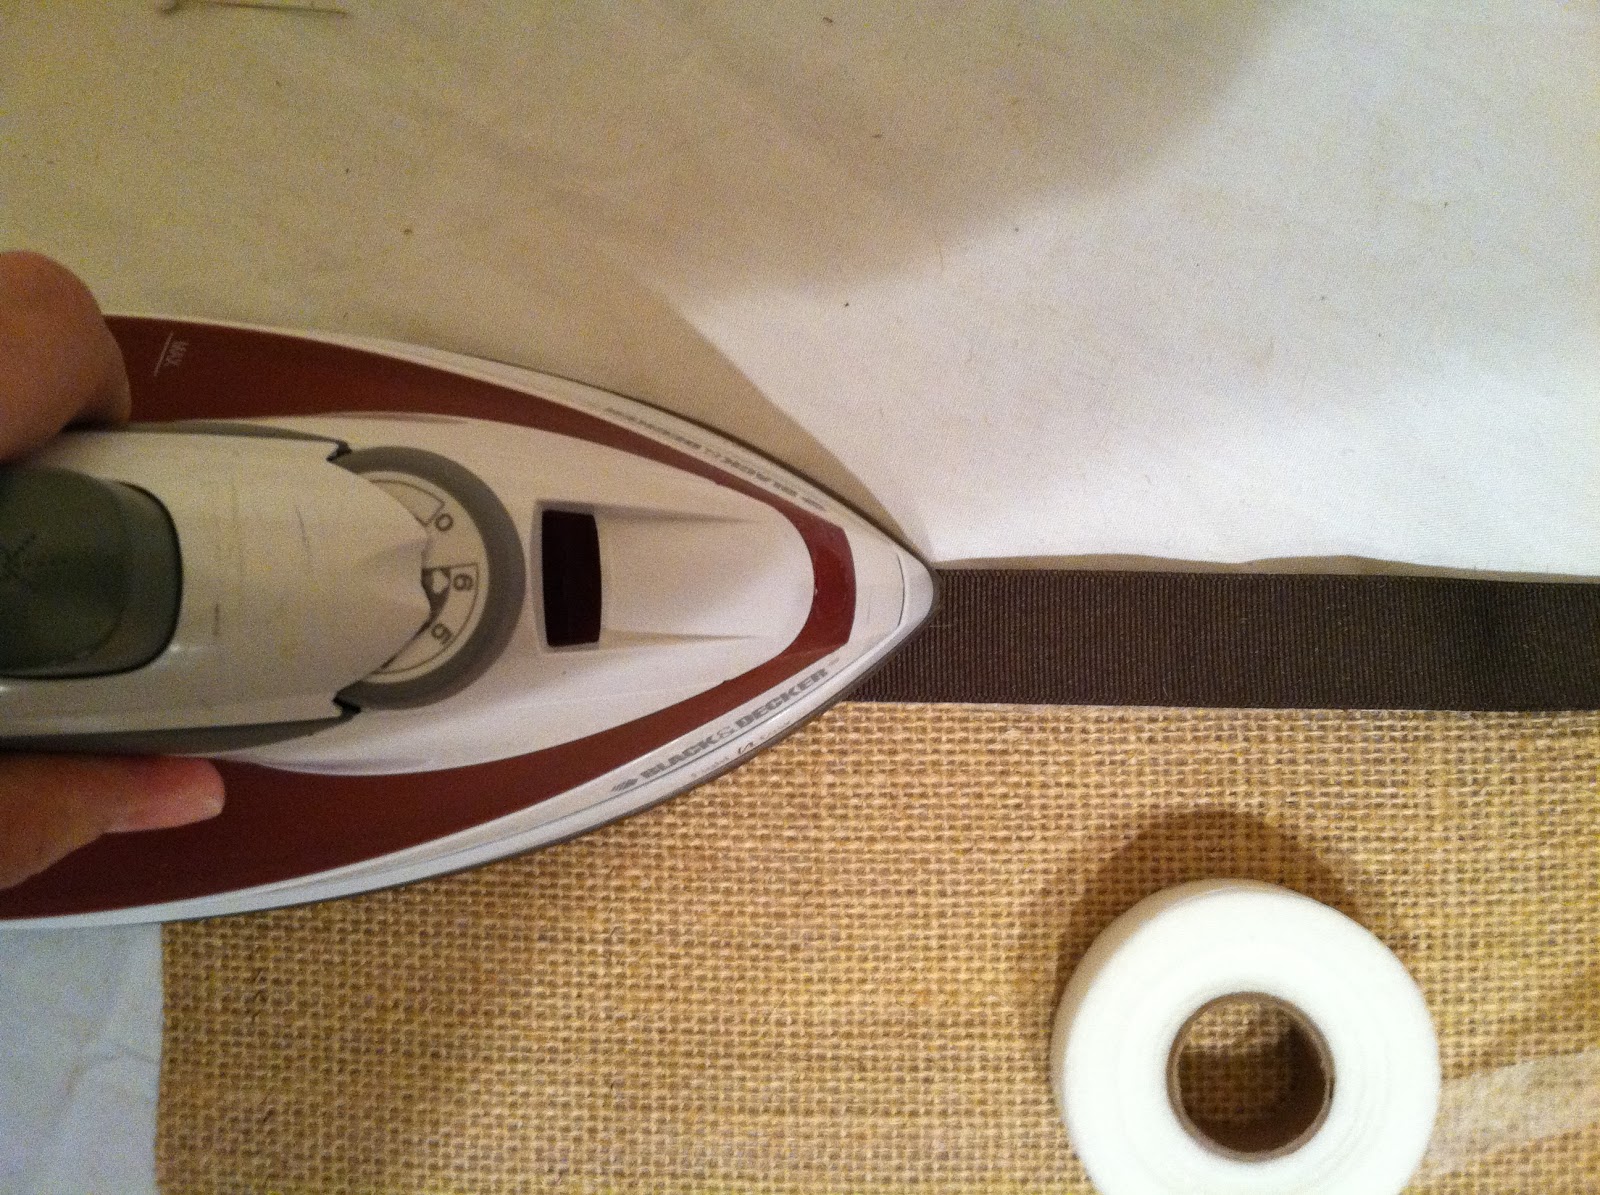
Next, we attached our grosgrain ribbon using stitch witchery (a hot glue gun can also be used).   We chose to use a chocolate brown ribbon for our sample. 


Iron or hot glue the ribbon to the edges of the burlap on all four sides.  Initially let the top piece of ribbon extend over the edge.  Then, cut it at an angle to create a mittered appearance and glue or iron it down. 


Now that all 4 sides are banded with the ribbon, you are ready to add your embellishment.  On each corner, put a dot of glue about the size of a quarter.  Place the starting end of the jute string in the center of the glue to hold it (be careful not to burn yourself).  Then, you just wind the string around creating a circle.  Add a very small dot of glue if needed to hold the finishing end of the jute string. 


Repeat on all 4 corners.  Now you have a finished product.  Repeat the process to create as many placemats as you need.


Notes:

- We used approximately 2 yards of ribbon per 14" X 19" placemat.
- Any color of ribbon can be used to suit the season, occasion, or your decor.
- Other embellishments can be used  in the corners such as buttons, appliques, 
  etc...
- We also think it would look great to stencil an initial or design in the center of
   the placemat.
- If you made the table runner from yesterday's burlap project, you can use the
  burlap left over (on the other side) for your placements.

Enjoy!!!     


Don't forget to stop by Details to pick up the burlap you need to complete your projects.

***Remember to watch for the next burlap project.  We have some really great ones coming up!


Burlap Table Runners DIY Project....Simple and Versatile.

     Burlap is the perfect choice of fabric for a table runner because it can be dressed up or down.  This table runner looks great plain, but can easily be customized for any occasion or event.  The great news is that this burlap table runner project is extremely easy to make even if you can't sew.  Additionally, the customization can be made to be removable so that you can create several different designs from one single burlap table runner.


Materials Needed:


-Natural Colored Burlap (yardage depends on the size of your table)
-Orange Burlap (again, yardage depends on your table size)
-Stitch Witchery (if you do not sew)
-Velcro (if you want to make your accent pleated bands removable).


First Things First.....Measure your table length.  Next, determine how much overhang you would like on each end of the table.  Finally, determine how wide you  want your table runner to be. 

For our sample, we used a  60" table and had a desired overhang of 9" on each end.  Our desired finished width for the table runner was 14".

Measurements for our Burlap...

Cut Length               
  
60" (length of table)
20" ( 9+9+1+1 / overhang on each end +1" on each end for a hem)
80" Cut Length

Cut Width

14" (desired width)
 2" (1" for a hem on each side)
16" Cut Width

Therefore, our cut measurement for the burlap was 16"X 80".  Simply adjust the numbers to accomodate your desired size.

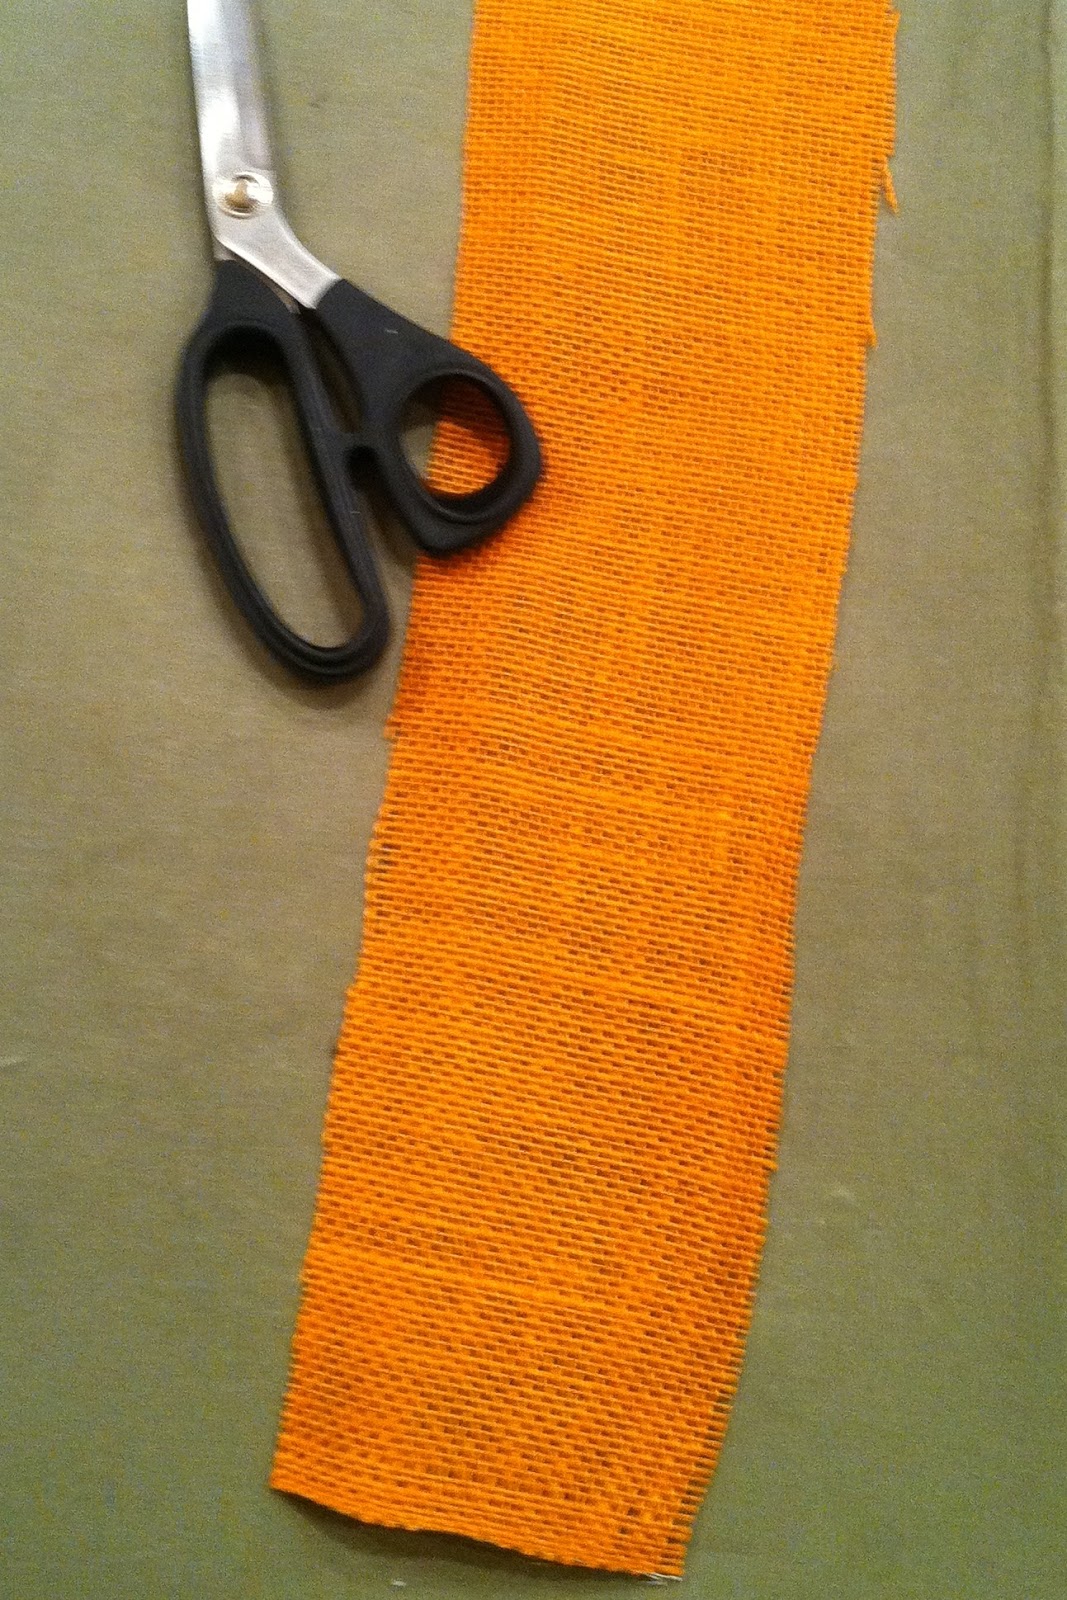
To make the pleated band for the bottom, we wanted a finished width of 3"  Therefore, we cut a 4" X 30" strip of orange burlap.  The 4" cut allows you to have a 1" hem on each side.  The 30" length was determined by doubling the finished width of our table runner and adding 2" to allow for a 1" hem on each end (14 X 2= 28" + 1" + 1" = 30")

So, for our orange pleated bands, we need 2 cuts at 4" X 30" (one for each end).  Again, you will just need to adjust the numbers to accomodate the width of your table runner.


Measure and fold under a 1" hem on each long side of the natural burlap piece.  Next. fold under and hem each short end of the natural burlap piece.  If you prefer, you can do a double 1/2" fold for the hem instead of the single 1" which will eliminate a raw edge showing on the back.  (For our sample, we did a single  1" folded hem).  Iron the hems to crease.


Once hems are folded/ironed under all four sides, machine stitch them to secure. (If you do not sew, use stitch wichery to to close the hems). Repeat the same on each short end.


You now have a finished burlap table runner.


Now, for the pleated bands.  Iron in the hems on the long sides of the orange burlap strips as done previously on the table runner.  


Then fold the hems on each short end of the strips again, as you did on the table runner.


Machine stitch all four sides to secure.  (Again, if you don't sew, use stitch witchery to complete this step).


Next, create folds in each strip (layered in the same direction).  We simply folded the strips approximately every 3" with each fold being only about 1/2".  This does not have to be exact.  The goal is for them to look evenly spaced visually (again, you can just ball-park this) while making the finished length stretches the width of the table runner with at least 1" to fold to the back side on each end. 

\

Iron the folds to set/crease them.


Then, machine stitch the outside of each pleated band to secure the folds before removing the pins.  Be sure to use matching thread as it will be very visible.  If you prefer the bands to be permanently attached to your table runner, determine your desired band placement on the runner, pin it into place, and then machine stitch it directly to the burlap table runner.  if you don't sew or would like it to be removable/interchangeable, sew or adhere velcro to the outer edges of each band and to the table runner to attach it.  (Other options would be to attach the bands with snaps or a loose basting stitch that can easily be removed). 


Once attached, your finished project should look something like this...


Notes:

-To customize your burlap table runner, you can make bands in additional colors or even prints for other holidays, events etc... 
-Instead of pleating the bands, you can make flat ones that could be monogrammed.
-Trim can be added to dress it up.
-The burlap runner can be used in various locations....tables, buffets, kitchen island, etc...

Now that you're ready to make your own Burlap Table Runner, stop by Details to pick up your burlap (just $4 per yard) and get started. 

Enjoy!!!


November 1, 2011

Burlap...The New Must-Have Addition To Every Room.

    Well, it is no secret that burlap is currently a huge trend in home decor.  We are seeing it used for everything imaginable.  Just recently, we have used burlap to fabricate draperies, table skirts, headboards, and chair cushions for our customers.  Burlap can be be dressed up or down making it very versatile.  And the good news is.....it is very affordable. 

Over the last few weeks, we have been putting together various DIY projects that you can do using burlap in your own homes. We decided we would feature a few of them here over the next few days and share our free step-by-step instructions for your convenience. 

Today, we thought we would start off with a great burlap wreath.
                                     

Supplies Needed:

- 16" Wire Wreath
- 1.75 yards Burlap (48" wide)
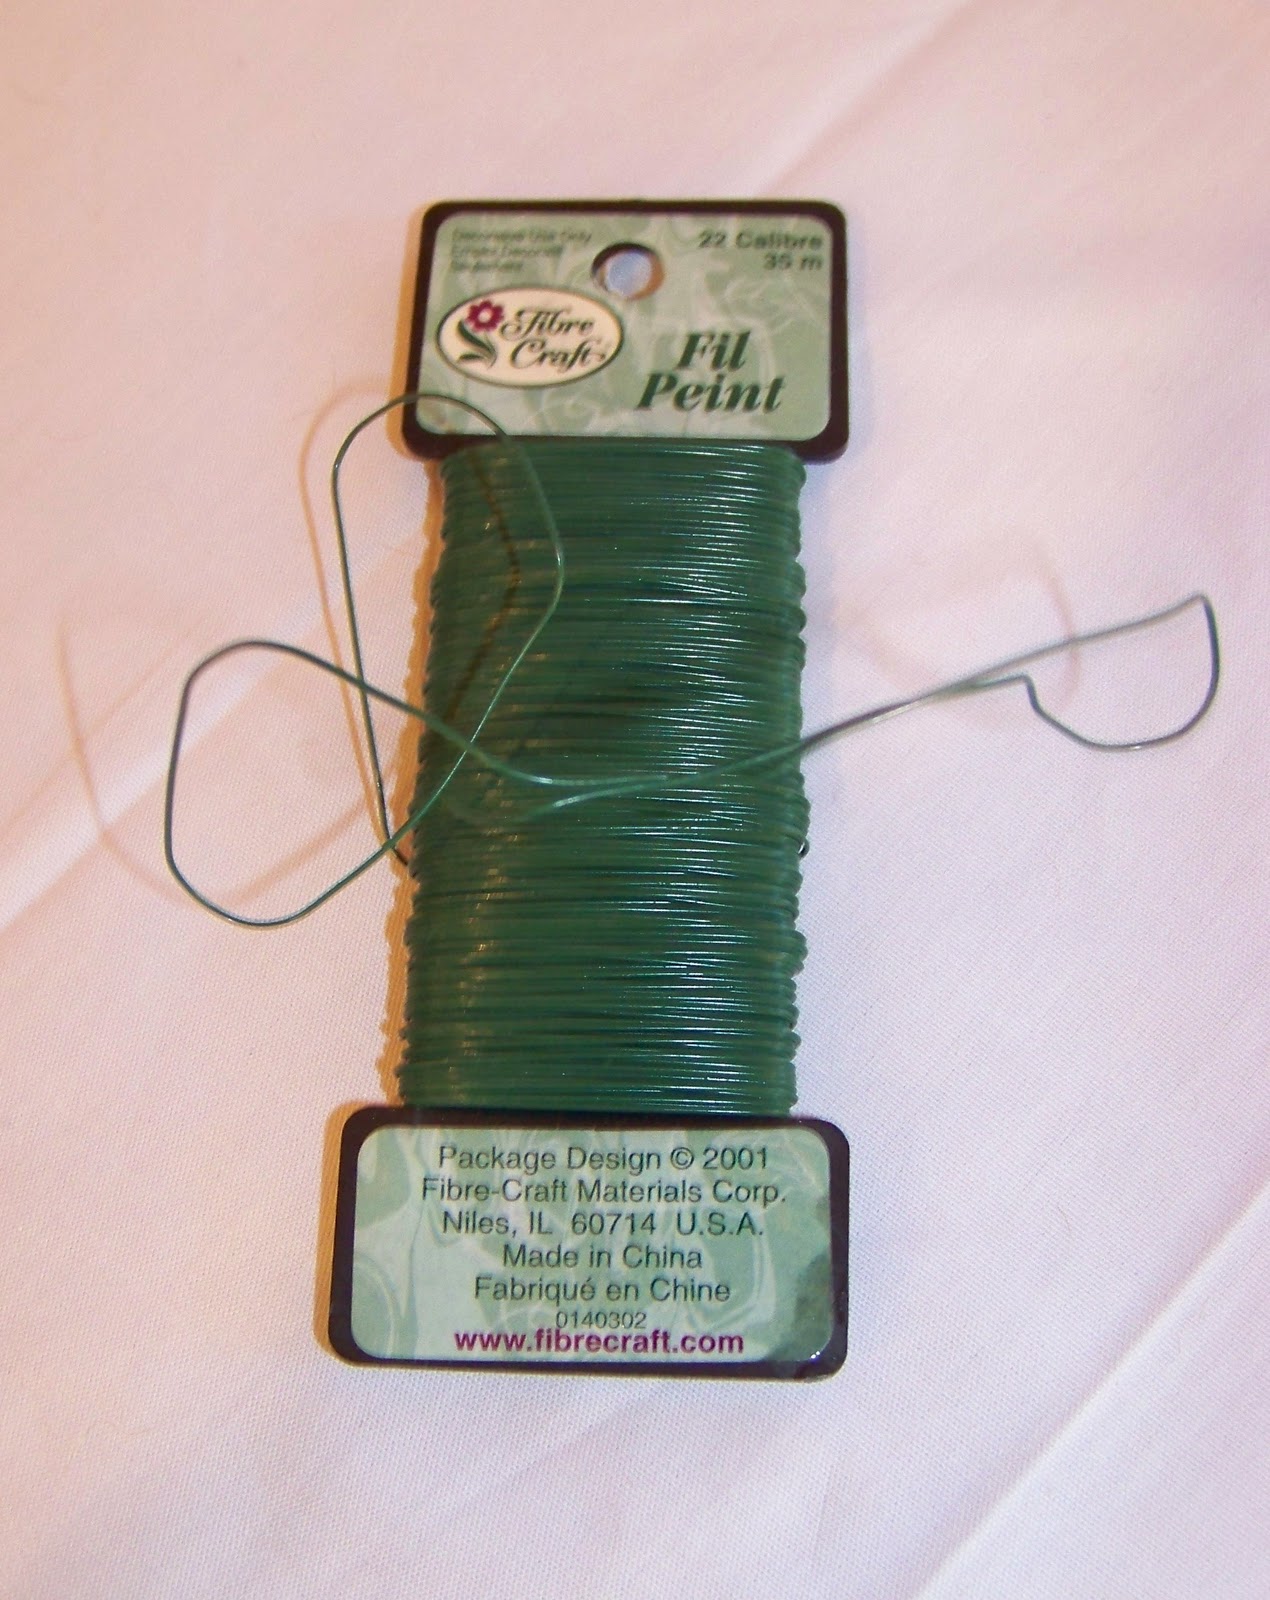
- Floral Wire


We started off by cutting the burlap into 8 strips (8"X 48"). 

                                     
Next, we folded the strips lengthwise creating 4" X 48" doubled strips.  We then cut approximately 3" long pieces of florist wire (We used approximately 16 pieces of wire per strip) and closed the open side of the folded strips by running the wire through both layers of burlap and then twisting it a couple of times.  We placed the wire twist approximately 3" apart.

                             
As you can see, the wire wreath has 4 circles bound together.  Therefore, we first attached the burlap strips to the inner 2 circles by working our way around the wreath and twisting the wire to hold it while alternating between the two inner circles. 


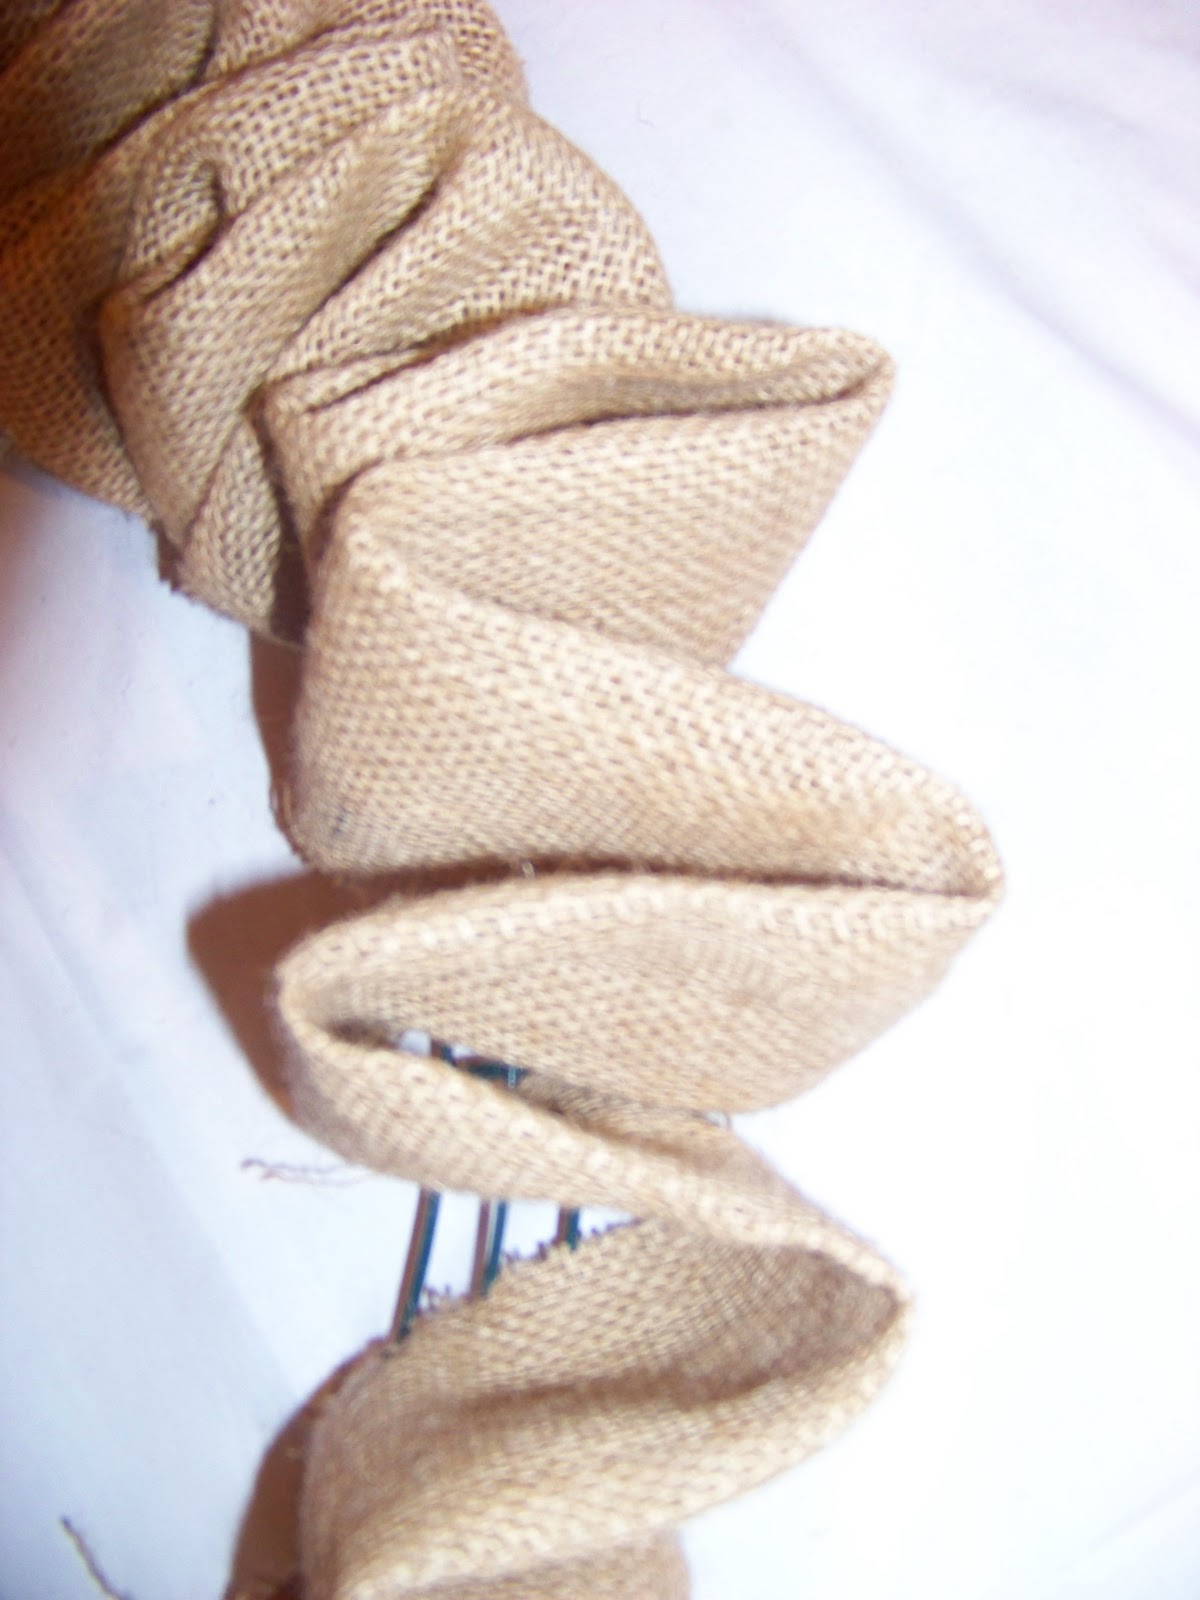
We continued to repeat this process using 5 of the 8 stripes to fill in the inner portion of the wreath.  Initially, it looks like this.


Fill-in the two inner circles using 5 of the burlap strips.  Then, using your fingers, open up the burlap strips from the bottom to "puff" them out and give them shape.  Next, take the other 3 strips and attach them in the same way by alternating between the circles as you attach them by twisting the wire around the wreath frame.  These will be spread out a bit more and used as needed to fill-in the 2 outer circles and create fullness.


After adding the last 3 strips to the outer circles, use your fingers again to "puff" out the strips to create the look desired.  We added an orange bow that we created using a 1/4 yard strip of orange burlap. 


If you would like to purchase a wreath kit to make your own, we have them available at Details for $10 each. 


Notes:

1.  While we selected an orange bow to represent the fall holidays (and the Auburn Tigers), you could also substitute red for Christmas and Valentine's Day, Green for Saint Patrick's Day, etc...

2.  We used orange burlap to make our bow, but you could certainly substitute  ribbon to create your own look.  Additionally, the bow could be placed anywhere on the wreath that you prefer.

3.  We hung our wreath simply by mounting a command hook on the door and then hooking the wire frame of the wreath on the hook.  It would also look nice to use a long piece to suspend the wreath from the hook.